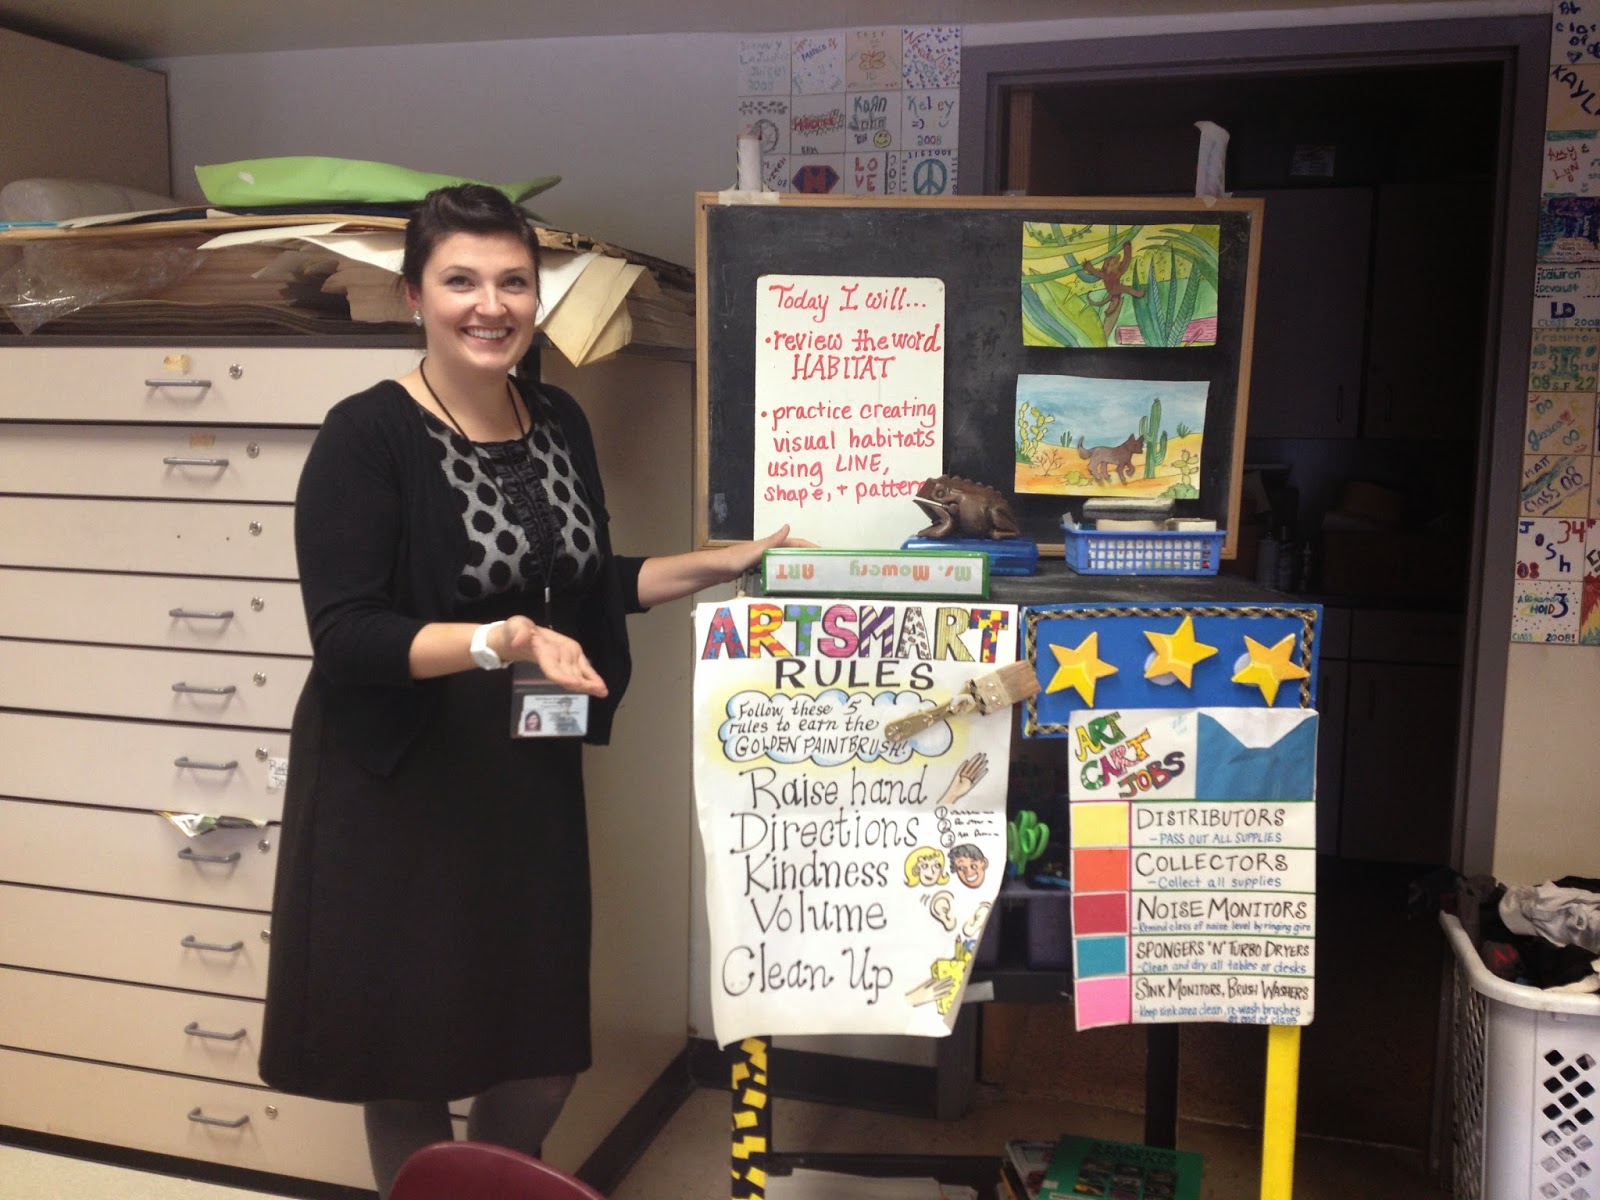
This
year I tried a fun, new project with my 5th graders called Rock
Thoughts. I found out about the web-based story telling project that is Rock
Thoughts via Mrs. Hahn’s Mini Matisse Blog. To read a detailed description of
how the process works, you can visit Mrs. Hahn’s website by clicking here. She does a phenomenal job of describing each step of the process. You can also visit the official Rock Thoughts website by clicking here. The project is
simplified when you work with great teachers like I do who help to make the project
a school wide collaboration. For this project I teamed up with the Librarian at my school to help with the word processing component.
The project does entail a hearty amount of prep work, but the results are totally worth it! This project actually started last summer, when I
ventured into a dried up tributary of the Susquehanna River with 5th
grade teacher, Mrs. Barrett. We collected over 100 rocks, looking for shapes that would be inspiring for 5th grade artists.
So....how
does this project work?
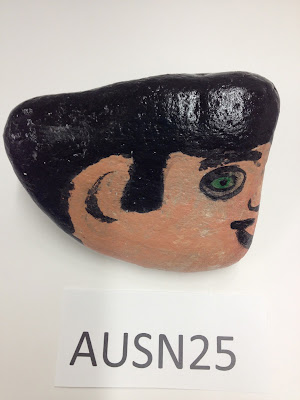
Students will design and paint a rock character in art class. A special, code number
will be placed on the bottom of each rock.
Students will create the beginning of a story about your rock character.
Students will type, edit, and proofread this story in Library class. This story will be put up on
the Rock Thoughts website.
Students will hide your rock somewhere out in the world! Anywhere you want.
Seriously, anywhere!
A mystery person will find your rock, look up your rock’s number on the Rock Thoughts
website and continue your rock’s journey through story!
Students rocks will circle the globe, achieving pure awesomeness!
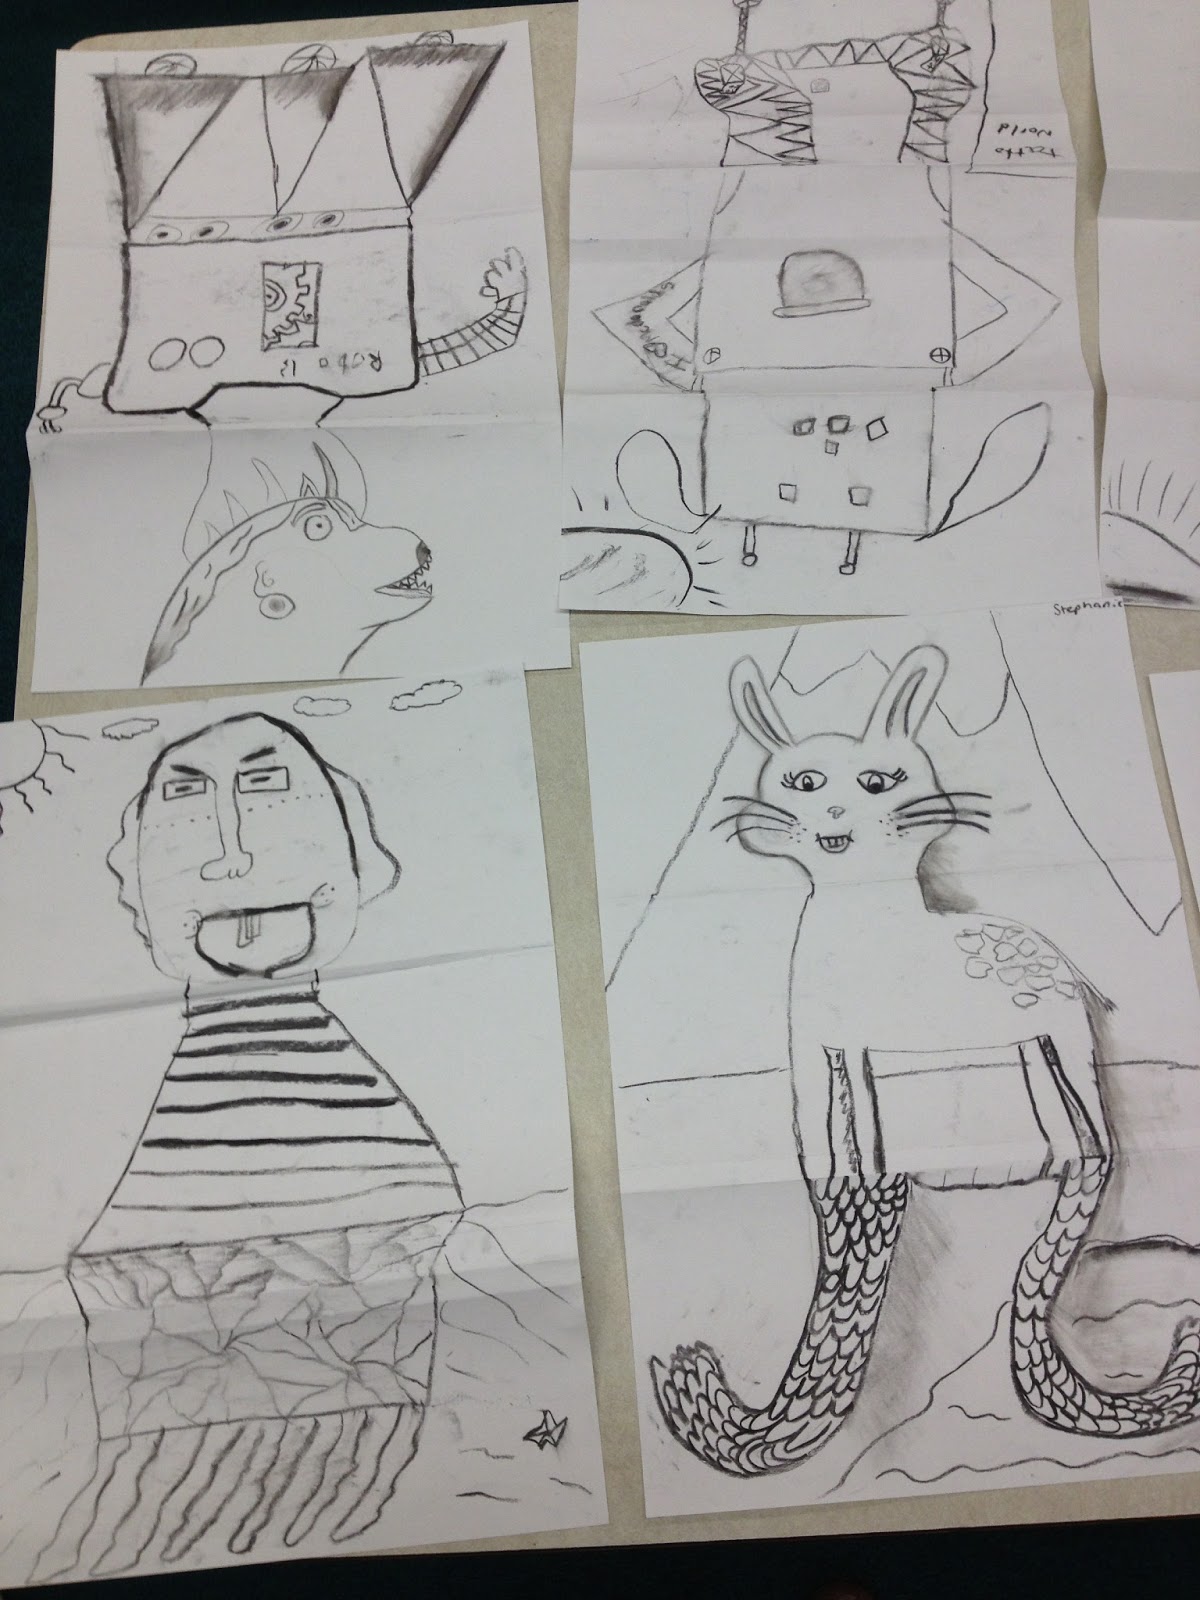
The process was a little abstract for the students on the first day, so I provided the following two examples I whipped up myself. Here's a sneak-peak from my PowerPoint.
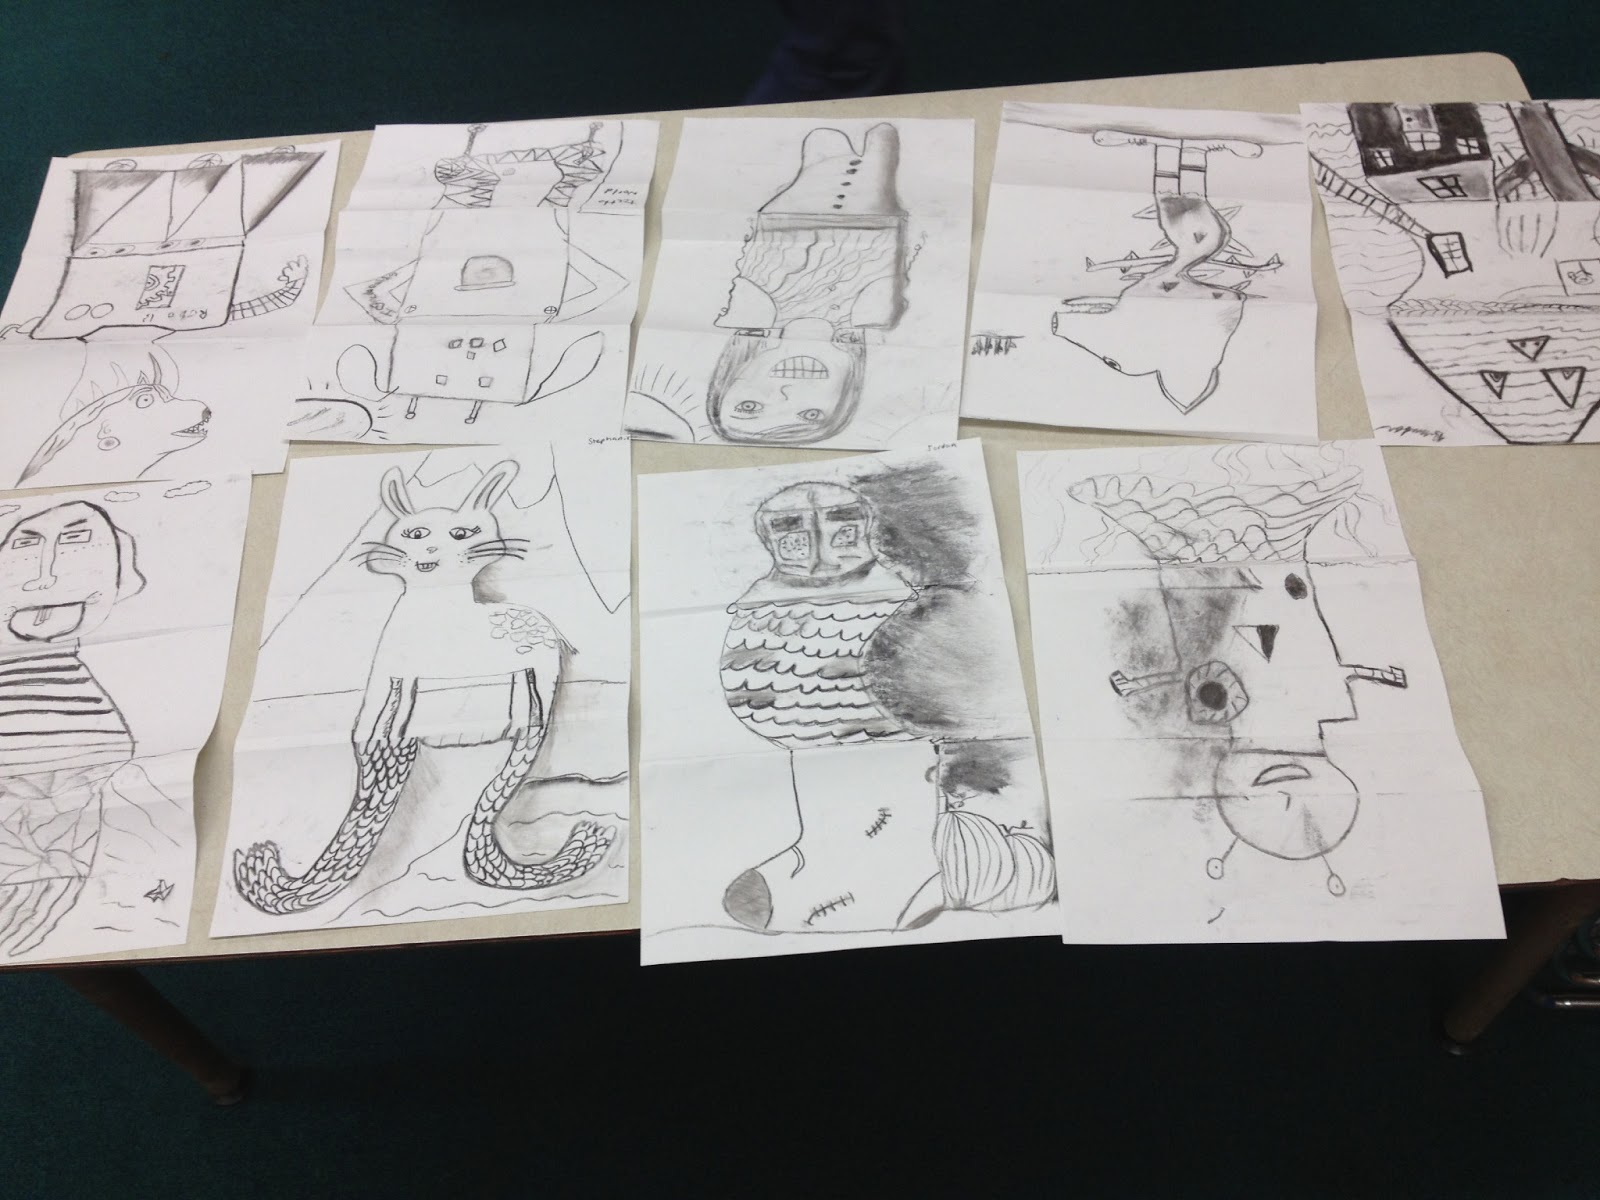
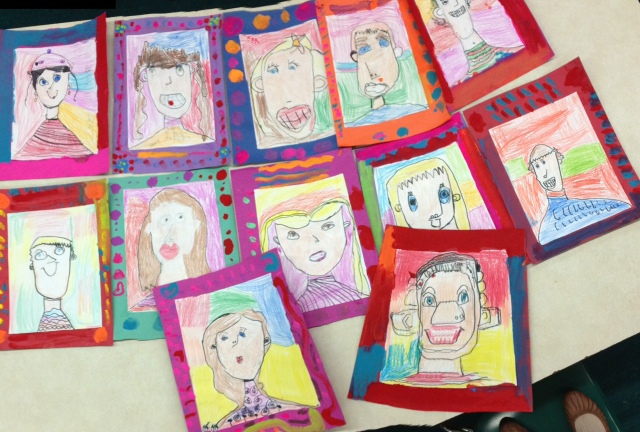
Below are some examples of finished student rock art showcased with their writing.
Old Dan Hoover
Old
Dan Hoover is an old man who is 79 years old. He wants to stay healthy so he
eats his fruits and vegetables and goes to the gym on Fridays with his other
older friends to do stretches. One Friday, he met up with
his buds at 12:00 p.m. to do their usual stretches. First, they did one lap
around the gym. Next, they touched their toes and did jumping jacks. His friend
Bill did extra everything, and looked really sweaty. Old Dan Hoover started
worrying, but said nothing. Then after a few more stretches, Bill collapsed and
started breathing heavily.
Hello,
my name is Littledude. Let me tell you a little bit about myself. I live in
Sarasota, Florida, but I am originally from Sayre, Pennsylvania. I play
football. I love to listen to rock music. I hang out with a group of hard
rockers.
I
always dream about catching mice filled with catnip in an endless meadow. My
favorite thing to eat is popcorn with catnip. I like to watch “Hawaii Five O”.
I am very nice and outgoing.
One
day I saw the door open. I wanted to go out to the meadow, but I was scared.
What do you think I should do? How do you think the door got open?

Crocy
the Crocodile
“Crocy
the Crocodile” was a grouchy crocodile. He lived in Florida in a zoo. He wanted
to go out in the sea so could be free. One day “Crocy the Crocodile got out of
his cage. He ran to the nearest river and he jumped in. Right when he was about
to swim away the zoo keeper grabbed a net, started walking towards Crocy, and BOOM!
Just like that, Crocy Crocodile ran. He ran so fast that he did not know where
he was. He found himself in Pennsylvania’s Lake Erie. He was happy but, THEN….
“Elvis Presley”
Hi, my name is Elvis Presley. I
like to listen to rock and roll music. I like to eat ice cream. My favorite
kind is Panda Paws. My voice is deeper than the Grand Canyon.
I live in Las Vegas. I have
always had a dream. My dream was to be a rock star. I have all ways been a
ladies man. I think I’m a ladies man because of my good looks.
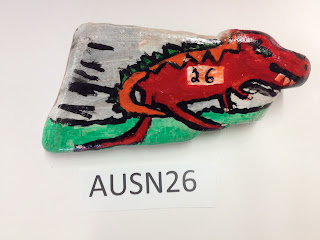
Tena T-rex
Hi
I’m Tena t-rex. I’m off to the dino. race! I have to pick up my race number.
“Hi Rosey” I said “can I have my number?” “Here, take number 26”said Rosey
“Thanks” I said, I got to the starting line. Everybody is in lime. The
announcer announces “Ready…set…go!” 15 miles in I ….
Hershey
I am Hershey the rock.
I live on a windowsill in a pet
store. I want to go to Myrtle Beach.
My favorite song is “Drop the World” by Little Wayne. Also, my pet store is
located in Florida.
I
am always upset because I want to leave the pet store. Then one day the window
opened and I fell out. Next, a
squirrel picked me up and took me to her nest. I almost got eaten but luckily I
fell out of her mouth just in time.
The Amazing
Adventure of Oinkers
Hello,
my name is Oinkers and I live in this tiny house. I asked my friend Damion if
he would take me outside. Of course, he did. I went
walking around and Damion said he would be right back. By the time he came back
I was already down by the creek. I can remember Damion yelling me. So I slept
outside like camping. When I awoke I was lost in a new world.
Dawn
It
was a brisk, cool morning when Dawn woke up. Dawn was a dove who was on
vacation in the woods with her grandma, not far from her old nest on the H.
Austin Snyder Elementary roof. Dawn’s grandma sent Dawn to the store. Then all
of the sudden she heard the loudest boom she ever heard and at the same time
pain shot through her as fast as a lightning bolt! To her dismay, Dawn realized hunting season had started.
WOLF the HUSKY.
This
is my rock named Wolf. He’s from Alaska.
He lives in Hawaii currently. He hangs out with MRS. KITTY (his girlfriend). He is
always funny. He dreams of eating a 1,000 coconut flavored dog biscuits while
surfing. He likes to eat coconuts at the beach. He likes the best rap music on
the beach. He likes to go scuba diving. He likes to watch
GOLD RUSH because he’s from Alaska...
Sally Sombrero
Once
upon a time there was a little rock named Sally Sombrero who lived in a hat
store. She always wanted to see what it looked like outside .So one night she
snuck off the rack .She saw a sombrero dancing, singing and laughing and more!
She was curious and went and met her good friend Pedro. So they went to The
Jumping Bean Café and saw a dance off. After they got done a girl named Juan
came over and asked “Do you want to go dance against me?” Sally said, “Yes!” So
they went to dance for hours and hours . Finally, the judges answered it was
Sally sombrero the winner.
 Rock Lewis JR
Hi my name is Rock Lewis JR. I live in
the Baltimore Ravens Stadium. Something bad happened to me though I was on the
field and I got stuck in Ray Lewis’s cleat while he sacked Andrew Luck. If you
find me please return me to Rock Lewis, or Ray Lewis (that’s who I wanted to be
named after.) I forgot to tell you, if you don’t hurry I will miss my tryouts
for my favorite Rock Football League team the Baltimore Rocks. Hurry or I’ll be
late. Please help!!!!
 Guess who's back? It's been a hot minute since my last post on Coral vs. Salmon! About a year and a half, to be exact. I have missed the blog world, fellow bloggers, and the interconnectivity of art teachers from around the world.


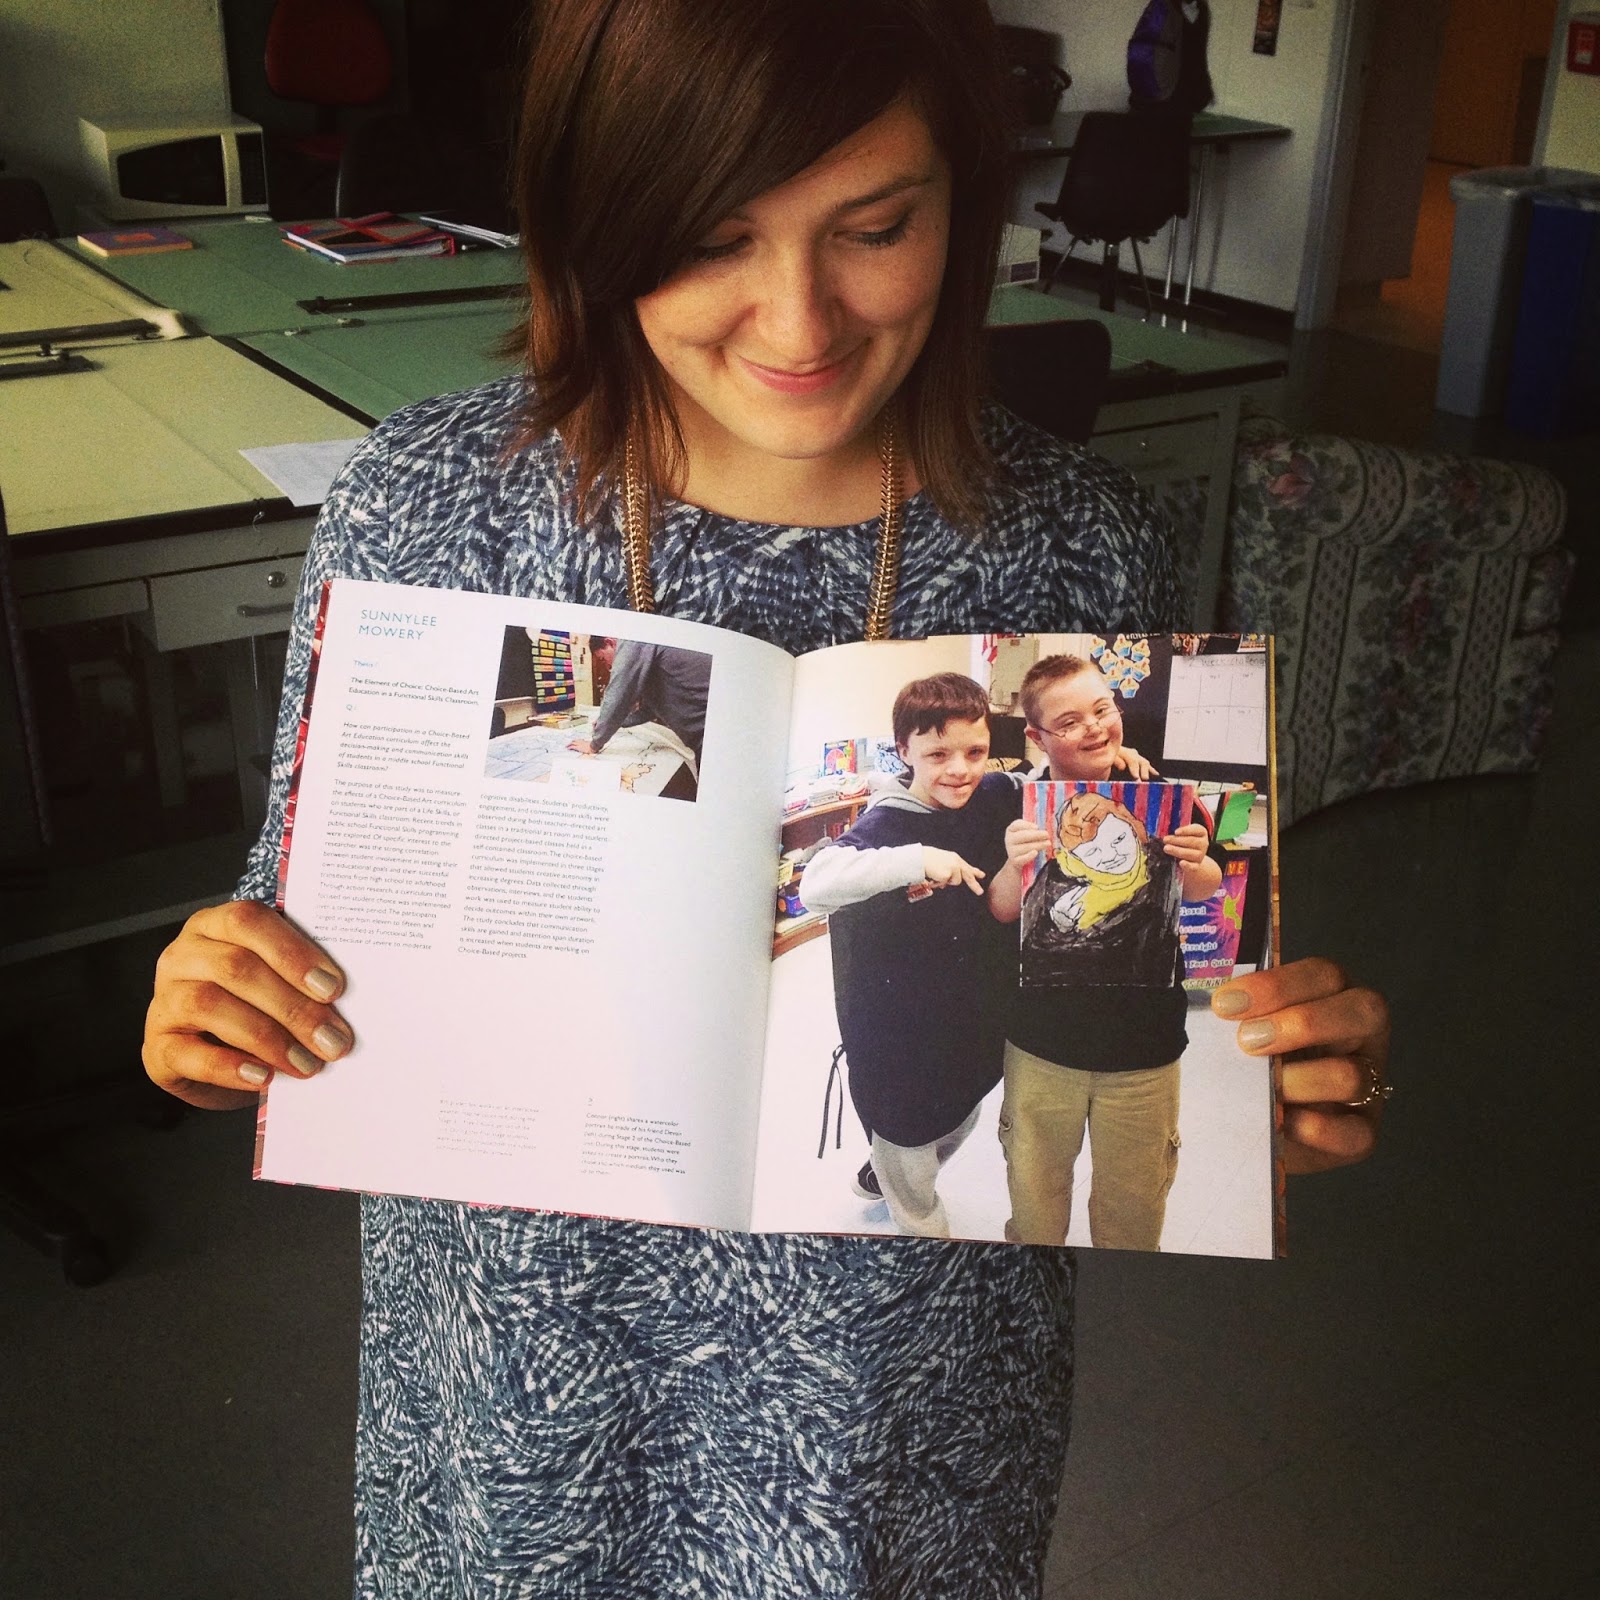 First off, I decided to take the big leap and pursue by Masters degree in Art Education! I was accepted to Moore College of Art & Design in the summer of 2013. At Moore, I was able to work with some of the best and brightest leaders in the field of art for Special Populations. Special Pop, in short, includes students with a wide range of learning, physical, and cognitive abilities, as well as students who are receiving education while they are homeless, living in poverty, or in corrections facilities. I wrote my thesis on the element of choice for students in a life skills classroom.